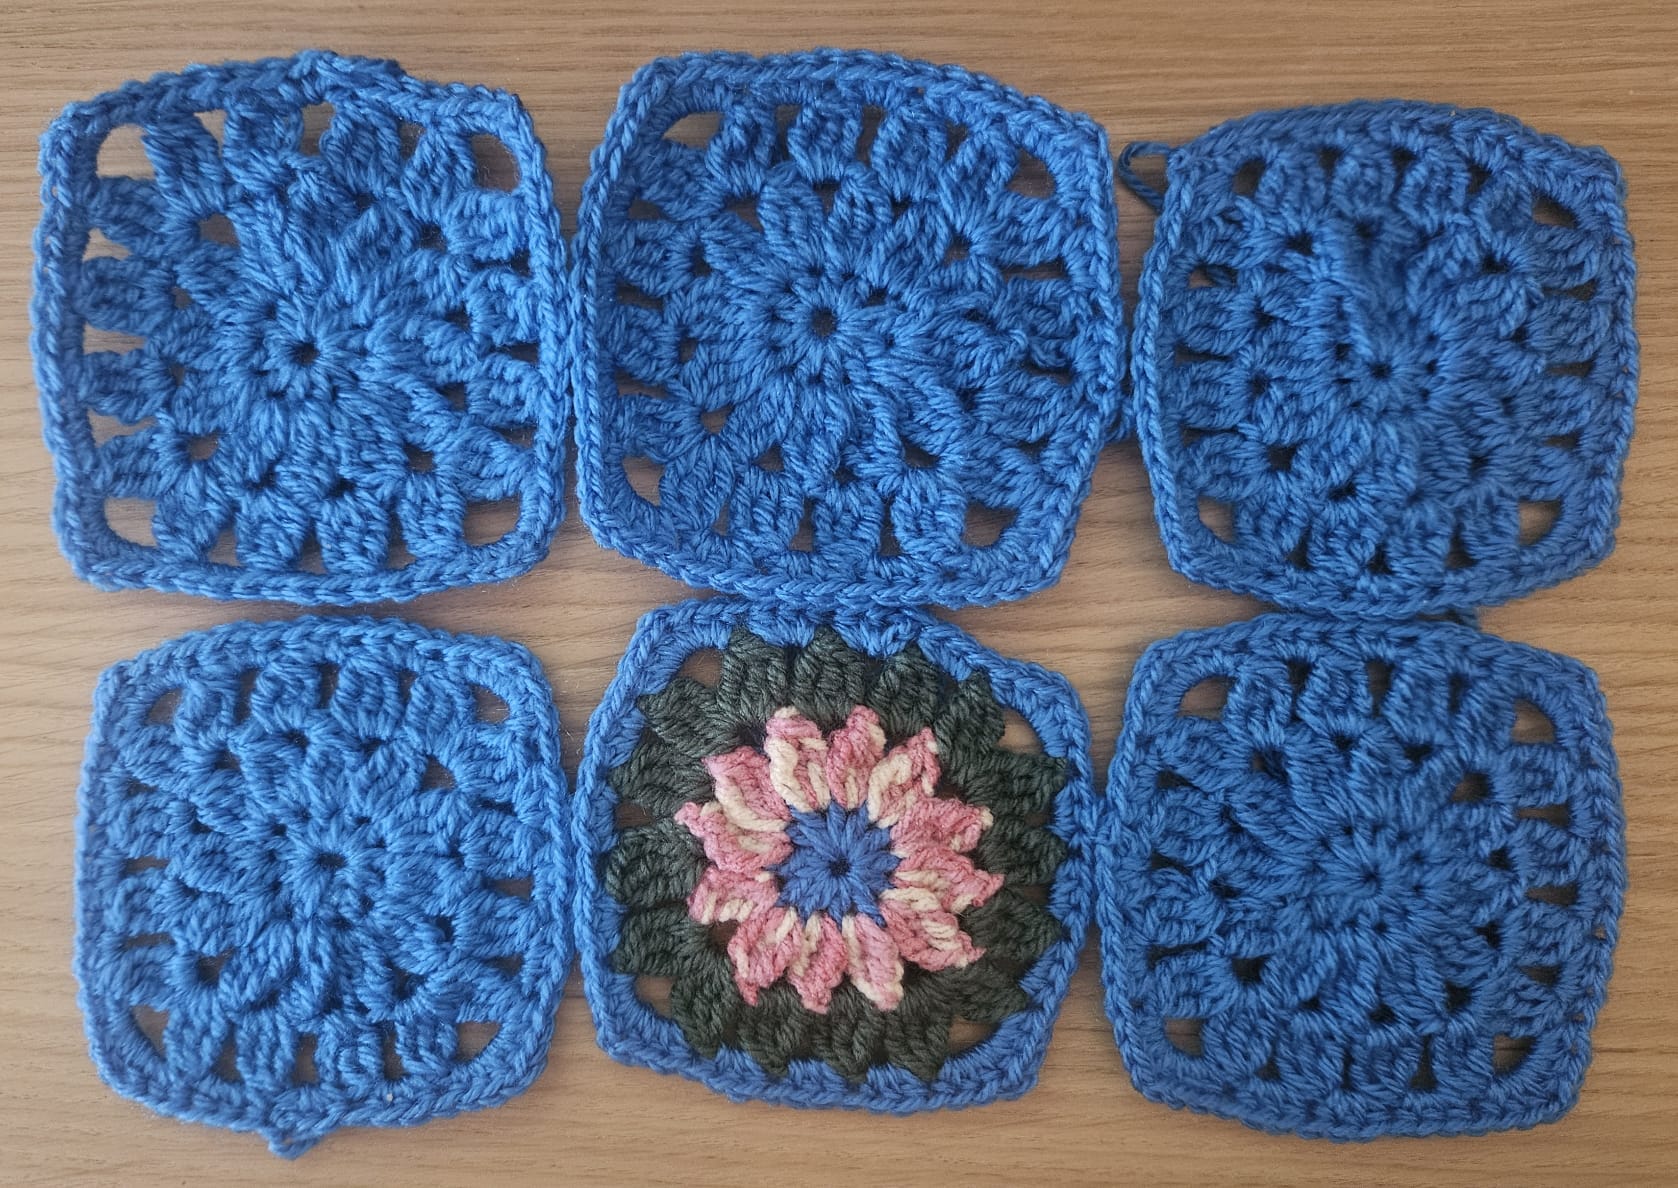
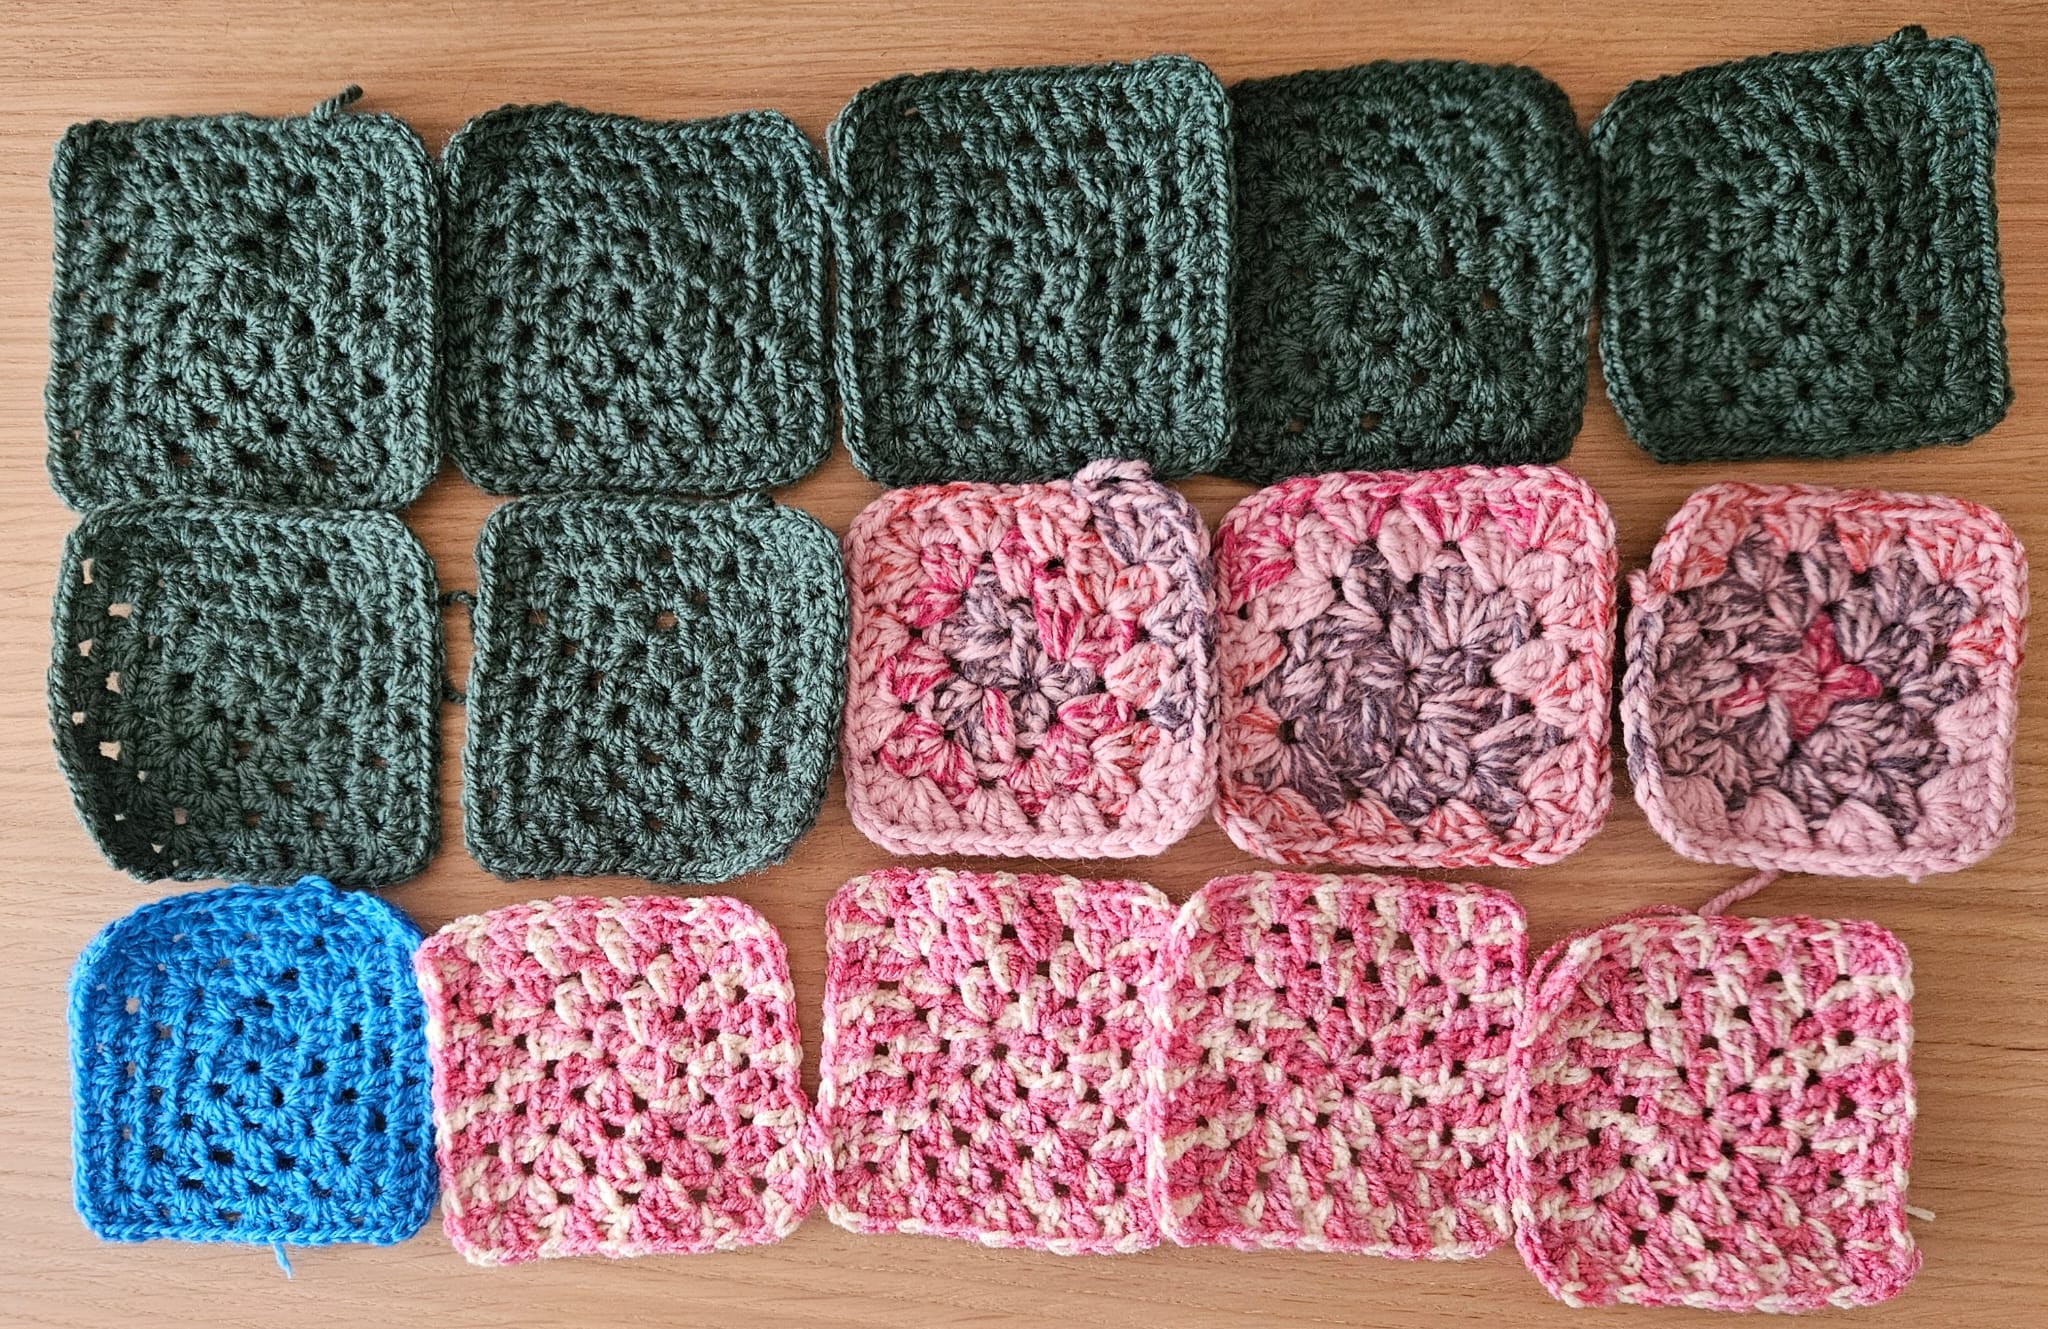
The Snape Cape has been put on a little pause. I have been crocheting granny squares for it, and it's great that granny squares are small and therefore easily done in some free time. But I wanted a slightly bigger project to really get me going too.
So I have this balance pillow, great for my back and I guess I could one day do exercises on it after the sturdy flat floor becomes too easy (a girl can dream) but the downside of that balance pillow is that it is made of plastic. And we are currently in the warmer months of the year so all I wear at home is short pants. Bare skin on plastic pillows? Not great.
I remember I used to have a balance pillow at my parents place (sadly, the didn't have that one anymore) and how my greant-aunt once knitted a cover for it. I figured, I could do the same now by crocheting.
I sorta followed the following tutorial:
I did deviate from the video a bit by starting with a magic ring (so happy I finally understand how to that), by how I started each next row (not a chain of 3 but something I don't know the word of), when I increased my rows, and also, I did not close it completely. I want to be able to remove it and wash it, or just use the pillow as is with it's stubby little knobs for whatever they might be usefull for.
So I do stil need to thinkg of a way to crochet a 'belt' to close the bottom that I can also easly open up.
But I did the whole project in a weekend! I am proud of myself for that. Others will certainly be able to do it faster (and neater) but I think, for someone who has been crocheting for like a month now, it is pretty good.
Here are some pics of the front and back:

The tutorial I've used to make a magic ring is a Dutch one, but because I've only followed the pictures myself I think it might be useful to other people too:
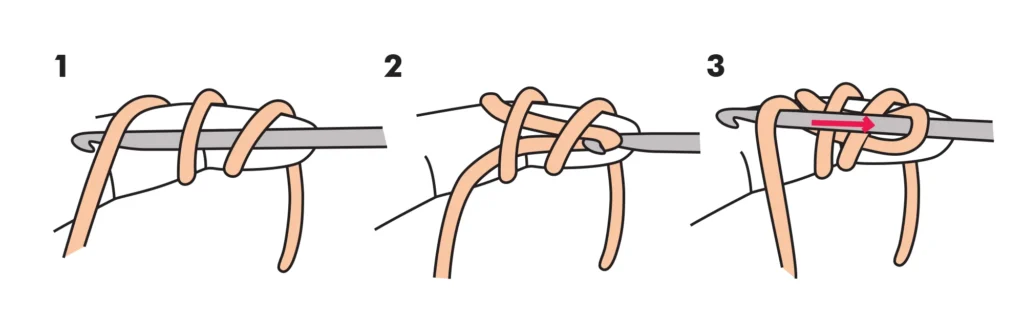
And then just add the stitches you want:

Click here for the original (Dutch) source.